Showing posts with label children. Show all posts

Monday, May 16, 2016

Play Kitchen Renovation

     We were so lucky when our neighbors decided to gift us with a play kitchen that they didn't need anymore! It was a nice, sturdy, wooden kitchen that had tons of potential for fun! Amelia loved it from the first day we put it in our house, but the decision to keep it in the living room, left me wanting it to match my style a little more. There was only one answer and that was to renovate!


     It was pretty cute from the get go, but with a few coats of paint and a little creativity, I turned it into this!


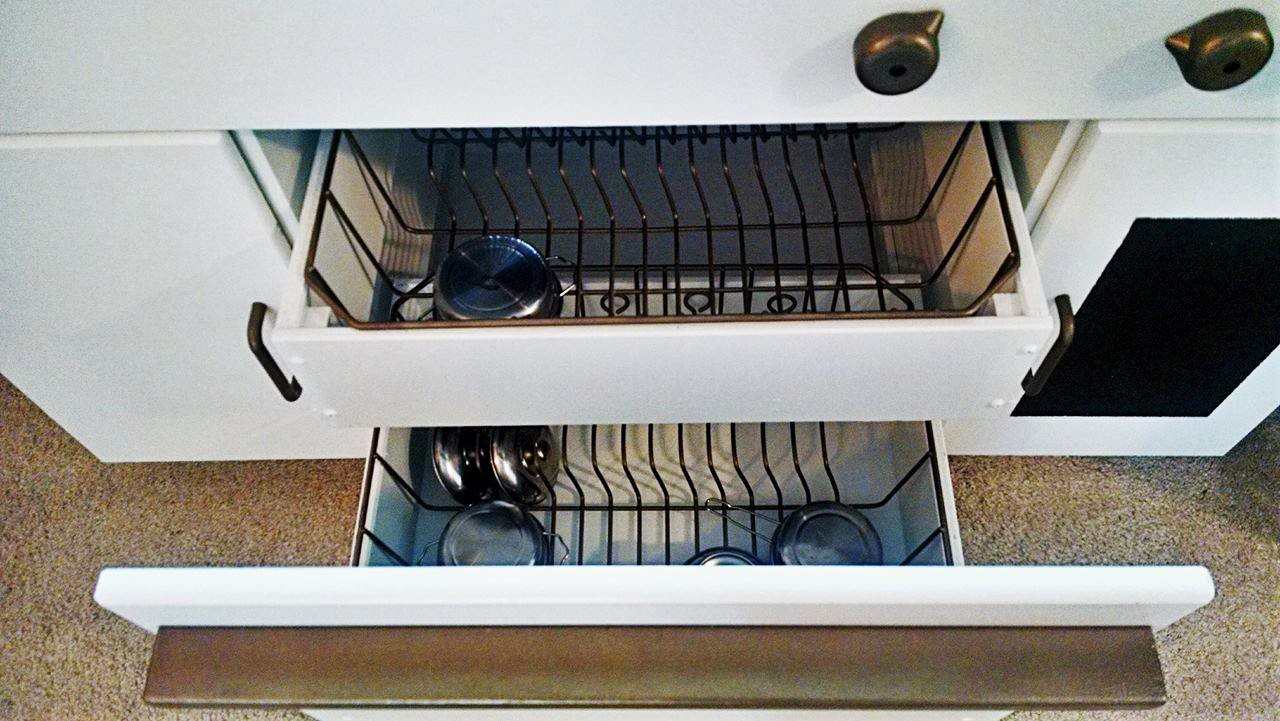
     The first order of business was to remove the cabinet faces and all of the hardware. Next, I spray painted all of the hardware with spray paint. I used Rust-Oleum in Antique Brass (2-3 cans). Then all of the cabinets and bases got two-three coats of white paint. If you have the time and patients, I would recommend sanding before painting. I didn't, but I know it would be greatly beneficial. I used an exterior white  semi-gloss paint. My reasoning for this, was that I thought it would be more resistant to water, scuffs, and stains, we shall see.


     After the white is good and dry (waiting between steps is the worst!), I used 1 inch painters tape to lay out where I wanted my white subway tile. I cut it into 3 inch long strips and laid it out in a brick pattern. After the entire back splash was covered, which is super time consuming, I used gray acrylic paint to 'grout' the tiles.


     Next came the faux marble countertop. My first step here, was putting down a fresh coat of white. This allowed me to blend in the gray really well. This was definitely a learning process, but what it really came down to was layers! I stared by adding the veining of the marble with a small brush. Then I blended lighter grey over that with a foam brush. Immediately add more white paint with the foam brush and keep layering until you get the desired effect. After mine dried, I dry brushed an extra layer of white over the top on the diagonal. This gave it a uniform look and made it seem like it had striations like you would see in stone.


     I also added eyes for the stove instead of painting them on. I did this by spray painting some wooded coasters we already had black. I would also suggest using cds or purchasing wooden rounds from the craft store. These were attached using Gorilla Glue.


     The square on the front of the oven is chalkboard paint, although she isn't old enough to use it yet, I'm sure she will have fun with it in the future.


     One of my favorite additions to the kitchen is the metal sheet I put on the fridge. I thought it would be fun for her to actually have magnets on her refrigerator. I bought a 6"x12" galvanized metal sign from Michael's. We drilled holes into the corners and mounted it on the door. She has love playing with the magnets and learning her animals! 

     I'm super happy with the way everything turned out. The project took me about 2 days to complete and you have to be committed to get it finished that quickly! I had my husband watching the baby the whole time, so if you've got to watch your kids as well, it could take much longer. 

     I think, as with anything you do, the attention to detail really makes it. I would recommend looking at real kitchen renovations, picking out what you like, and scaling it down. If you aren't into faux painting, there are plenty of options, from contact paper to furniture appliques. You really just have to get out there to the stores and look for inspiration. Although, I will say, faux is the cheapest way to go! 

Here is what I used for this project:

1 Gallon of White Paint
3 Bottles of Brass Spray Paint
Black Spray Paint (or  any black paint on hand)
Chalkboard Paint (very small amount)
Gray Acrylic Paint
1" Painter's Tape
4 Coasters or Cds
Gorilla Glue
2 Small Foam Rollers
2-3 Foam Brushes
1 Angled Paint Brush (3 inches or so)
Paint Stirrers 
Galvanized Metal Panel
Drill
Screwdriver
4 Small Screws

Monday, April 4, 2016

Easter in Alabama


We were so excited that we got to go home for Easter. It isn't very often that we can make that trek for a holiday. Most holidays Jeremy either has to work or only has 1 day off. We managed to get 4 vacation days and spend TWO whole days at home. Although it doesn't sound like much, it was great to spend Easter with out family and friends!

I thought the driving (in my case, riding) was going to overpower the trip, but this time it wasn't so bad. Amelia slept most of the way and kept herself fairly entertained while she was awake. She snack a lot and played with her toys. She did great and only fussed a couple of times.


Taking a little mini vacation like this is a great refresher. Which, Jeremy and I need fairly often. We get sort of bogged down with our responsibilities and the monotony of the day to day. We combat this weekly by trying to explore the area around us and go for some pretty long walks. It just doesn't give the same amount of satisfaction as a road trip. I love exploring new places, but lately, going home has been the best. It is an adventure in itself, because Amelia is always learning something new. I love to see things through her eyes. There is a lot to explore in Grandcam's yard, rocks to find and flowers to pick!


She did a good job 'hunting' for Easter eggs. She figured out pretty quick that they needed to go into the basket, but then she wanted everyone else to pick them up for her. It was extremely cute and she had a blast, running and rolling around in the grass. Since she was the only kid there, it was all about her. And, she was totally okay with that!


Thursday, January 21, 2016

Amelia in Wonderland


Back in November, we went home to have Amelia's first birthday party a little early. The theme was Alice in Wonderland, but with a vintage twist that felt more like a baby's party. I made the invites myself in Photoshop and had them printed by Shutterfly. I then cut the corners in the shape of a tea bag, punched a hole in the top and tied a piece of bakers twine through it, they were precious!

Anyone who has ever helped my plan anything knows I get a bit obsessive over little details.Which, lets face it, can be super annoying.  I had to really learn to let people help me. Trying to take care of a baby and put on a great party is not an easy task. 

For months, I had been dropping by craft stores and picking up all sorts of little things and in the end, I was just lucky that most of it went together. I had a lot of help from my family and friends to really make it work and I'm super thankful for that. 


I made all of the decorations, her "high chair" banner, drew the little framed pictures, and did the cakes. This mama was exhausted! We even bought a nicely bound copy of Alice in Wonderland and had the first empty page signed as a guest book. I wanted her to have a keepsake that she would actually want later. I plan to do this for all of her birthday parties. 


The menu was as follows:

Chicken Salad Croissants
Pimento Cheese Finger Sandwiches
Fruit and Veggie Trays
Heart Shaped PB&J
Cucumber Open Faced Sandwiches
Meat and Cheese Tray
Chips and Pretzels in Cupcake Liners
Spinach Dip and French Onion Dip served from Tea Cups


There of course was a sweets table, complete with cake, cookies, pastries, and a candy buffet. I hand stamped the brown favor bags with an "A" and displayed them in a teacup planter. The cakes were based off designs seen here and here.


I have definitely learned a lot so far being a mom, but one of the most important things so far is to just let people help you. They really want to make things easier on you and it can be important to let go of that control sometimes. I let go and got to really enjoy my daughter's first birthday! Instead of being so wrapped up in the details of the party, I got to enjoy the little moments with her that are only going to happen once in a lifetime! Celebrations should bring joy, not stress. Let loose and live a little.